Pages

Friday, June 28, 2013

Access list logs output not showing port numbers

Creating a dummy access list with logging enable and applying it on a interface for identifying the types of traffic tranversing the network is a quick and easy method. But it hit me that all the system message don't show the port numbers.

 *Mar 1 01:47:04.879: %SEC-6-IPACCESSLOGP: list DREAMCATCHER permitted tcp 10.1.1.3(0) -> 2.2.2.2(0), 3 packets

Dummy access list applied on the router :
ip access-list extended DREAMCATCHER
 permit ip any any log

As explained on ioshint.info - "unless a line in the IP ACL matches on the layer-4 port numbers, the router does not inspect them; the log action thus has no port number to show in the syslog printout."

I modified the access list to :
ip access-list extended DREAMCATCHER
 permit udp any gt 0 any gt 0 log
 permit tcp any gt 0 any gt 0 log

Voila! may there be port numbers

*Mar 1 02:09:53.403: %SEC-6-IPACCESSLOGP: list DREAMCATCHER permitted tcp 10.1.1.3(53147) -> 2.2.2.2(80), 1 packet

Monday, May 20, 2013

Squeeze the Cisco flash to reclaim space

While working to test out some configuration with a Cisco 2600, had to upgrade/downgrade it to match the production device. During deletion of the IOS to make space for the new IOS, notice "delete" command does not remove the file from flash until I perform the "squeeze" the flash.
"On Class A Flash file systems, you can delete individual files using the delete EXEC command and later recover these files with the undelete EXEC command. The delete command marks the files as "deleted," but the files still take up space in Flash memory. To permanently delete the files, use the squeeze EXEC command. The squeeze command removes all of the files marked "deleted" from the specified Flash memory device. These files can no longer be recovered. To erase all of the files on a Flash device, use the format EXEC command."
Router#sh flash:

System flash directory:
File  Length   Name/status
  1   19223864  c2600-ik9s-mz.123-17b.bin
  2   4941492  c2600-d-mz.121-3a.bin [deleted]
[24165484 bytes used, 8864656 available, 33030140 total]
32768K bytes of processor board System flash (Read/Write)

Router#squeeze ?
  /quiet  Squeeze without progress update
  flash:  Filesystem to be squeezed

Router#squeeze flash:
Squeeze operation may take a while. Continue? [confirm]
squeeze in progress... eeeeeeeeeeeeeeeeeeeeeeeeeeeeeeeeeeeeeeeeeeeeeeeeeeeeeeeeee
Rebuild file system directory...
Squeeze of flash complete

Router#sh flash

System flash directory:
File  Length   Name/status
  1   19223864  c2600-ik9s-mz.123-17b.bin
[19223928 bytes used, 13806212 available, 33030140 total]
32768K bytes of processor board System flash (Read/Write)

Thursday, November 22, 2012

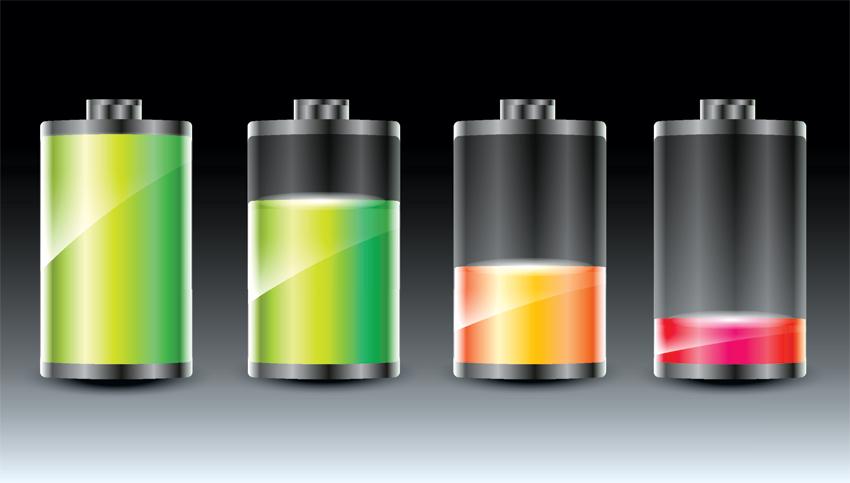
How long should you charge the battery when you start it up first time ?


You probably wondering when you buy a new laptop, how long should you keep the power connected first time to full charge it. Answer is ... there is NO need to. Lithium ion batteries are more efficient than nickel based rechargeable batteries and go through a formation process during manufacturing. They do not require the initial loading prior to use.

Wednesday, November 21, 2012

Dual-boot Windows 7 with SafeBoot and Ubuntu


Environment :
Windows 7
Ubuntu 12.04
SafeBoot aka McAfee Endpoint Encryption

Description :
What is SafeBoot ?
SafeBoot is a McAfee product which defunct back in 2009. Cooperate are using McAfee Endpoint Encryption nowadays (2012). McAfee Endpoint Encryption provide full disk encryption prevents exposure of sensitive data on laptops and desktop computers (especially in the event of PC loss or theft) with transparent encryption; enforce strong access control with two- and three-factor, pre-boot authentication.

This document the step I used to install McAfee Endpoint Encryption and got it to dual boot Windows 7 and Ubuntu.

1. To install Windows 7 on a computer without an operating system
2. Resize Windows 7 partition size to prepare space for Ubuntu
3. Install Ubuntu alongside Windows 7
4. Prepare bootloader for Safeboot
5. Install McAfee Endpoint Encryption
6. Testing dual boot setting
7. Final tweaks

Final tweaks:
1. Boot into Ubuntu
2. Bring the Terminal
3. Issue command "sudo gedit /etc/default/grub"

Make sure the GRUB settings below are followed. This settings is for hidding the GRUB selection, else you need to select twice in order to get into Ubuntu.

GRUB_DEFAULT=0
GRUB_HIDDEN_TIMEOUT=0
GRUB_HIDDEN_TIMEOUT_QUIET=true
GRUB_TIMEOUT=0
GRUB_DISABLE_OS_PROBER=true

Tuesday, November 20, 2012

Prepare bootloader for Safeboot


Environment :
Windows 7
Ubuntu

Installation / Usage :
This would be the most critical part in getting the dual boot to work properly with SafeBoot/McAfee Endpoint Encryption installed. We are using a method called "chain loading".

Pre-requisite:
A) Windows 7 installed (Without SafeBoot/McAfee Endpoint Encryption)
B) Ubuntu installed (During boot, GRUB is the boot manager)

The following step is to backup the Ubuntu bootloader:
1. Login Ubuntu
2. Issue the command "df" without quotes and note down the entry which says "Mounted on "/" .. what is the /dev/sda?
3. Issue the command "sudo grub-install --force /dev/sda?" .. where sda? is referring from result from step #2
4. Backup the bootloader, issue the command "dd if=/dev/sda of=grub.bin bs=512 count=1" (you can specify the thumbdrive at the 'of' paramenter)

The following step is to default the bootloader back to the original Windows 7 bootloader:
1. Boot PC
2. Press F8 after BIOS and Before Windows logo (Bring up the recovery console)
3. Select "Command Prompt"
4. Issue the command "bootrec /fixmbr"
5. Reboot

Upon reboot you should see the generic Window boot selection and GRUB is missing. This is expected.

6. Boot into Windows 7
7. Copy the grub.bin file from the thumbdrive into C:\Windows\System32

The following step is to update the Windows 7 boot menu to add the entry for Ubuntu:

9. Open a command prompt (Run > cmd)
10. Issue the following command to update the boot menu

BcdEdit commands:

    10a. Create a ID for the entry "Ubuntu"
    bcdedit /create /d "Ubuntu" /application BOOTSECTOR
    The entry {5a9684fa-9ec0-11e1-a7c3-00137290c993} was successfully created.
   
    * eg. ID -> {5a9684fa-9ec0-11e1-a7c3-00137290c993}
    * Copy the ID generated from this command as it will be reference in the following commands

   
    10b. Specifying which partition contains the bootloader (grub.bin)
    bcdedit /set {5a9684fa-9ec0-11e1-a7c3-00137290c993} device partition=c:
   
    10c. Specifying the path to the bootloader (grub.bin)
    bcdedit /set {5a9684fa-9ec0-11e1-a7c3-00137290c993} path \Windows\System32\grub.bin
   
    10d. Add the entry to the boot menu
    bcdedit /displayorder {5a9684fa-9ec0-11e1-a7c3-00137290c993} /addlast
   
    10e. Specifying menu display time
    bcdedit /timeout 10

11. Verify the Window 7 boot menu has the entry
Right-click "Computer" > Advanced system settings > Advanced > Startup and Recovery > Settings >
Under the drop down of "Default operating system", you should see Ubuntu.

12. Reboot and Choose the "Ubuntu" entry
13. GRUB should be loaded if all had been done properly
14. Allow it to boot into Ubuntu to see if it working properly

! For Windows XP users, you can edit the Boot.ini file and specify the path to the Linux bootloader
! For Windows 7 users, you can download a software called EasyBCD which is free and edit the boot menu entries via a GUI. It also has an option to default the boot loader back to Windows 7 original.

Monday, November 19, 2012

Install Ubuntu alongside Windows 7

Environment :
Windows 7
Ubuntu 12.04 (LTS)

Installation / Usage :
This guide covers the installation of the Ubuntu AFTER installing Windows 7. Because Windows OS installation will replace the Master Boot Record (MBR) with its and replace GRUB.

Prior to install Ubuntu, make sure you prepare enough harddisk space for the installation.

1. Download Ubuntu 32/64bit [LINK]
2. Burn ISO onto DVD or Create a Ubuntu bootable USB drive
3. Boot the Ubuntu installer
4. Select English
4. Select the option "Install Ubuntu"
5. Select English > Continue
6. Needs atleast 4.4GB harddisk space / Connection to internet (optional)
7. Install Ubuntu alongside Windows 7
8. Select Timezone
9. Select Keyboard layout English (US)
10. Choose a computer name
11. Account to import - NO
12. Installation done, restart the machine

Sunday, November 18, 2012

Create a Ubuntu bootable USB drive

Environment : Windows/Linux/MacOSX

Description :
UNetbootin is a all in one package which create a bootable USB drive for Ubuntu and other Linux distributions. It runs on Windows, Linux, and Mac OS X. It can auto download the support Linux distro from the internet (internet connection required) or you point it to the path to the ISO of the distro you downloaded.

Installation / Usage :
1. Download UNetbootin [LINK]
2. Select Diskimage
3. Select ISO
4. Choose the location to the image ISO (...)
5. Select Type: USB Drive
6. Drive: <double confirm from My Computer>
7. Click OK
8. Unmount the USB drive and connect to the machine which you wish to boot the new Ubuntu bootable USB drive.